
Installation and Activation
The STLink can be installed by one of two types of installers: Auto-Activation Installers and Base Installers.
The Auto-Activation Installers are generally the preferred method of installing STLinks because they automate the activation step of the STLink. Auto-Activation Installers work well for dynamic environments where machines may scale horizontally and for company-wide STLink deployments using an endpoint management tool.
STLink installation instructions differ by operating system.
Windows Installation
TIP
You will need Administrator permissions on the machine you wish to install the STLink on.
Windows STLinks can be installed through two methods: via the browser or Command Prompt. The browser method is simple and fast and Xiid recommends using this method for manual Windows STLink deployments.
Browser Installation
To install the STLink through a browser, follow these steps:
- Download/obtain the STLink software in a browser window
- After the download completes, open the STLink installer executable in the browser
- In many browsers, a window will pop up in the top right of the browser when the download completes and you can click on the file to open it.
- Alternatively, you can open the Downloads page in the browser and click on the file from that location
- Follow the prompts
- A Command Prompt will pop up during the installation
- You may be asked to elevate your permissions to Administrator before the installer will run
- The Command Prompt may ask you to confirm installation, which you can do by pressing the
ykey and hittingEnter
- After the Command Prompt completes, it will automatically close and your STLink will be installed!
Command Line Installation
To install the STLink through Windows Command Line, follow these steps:
- Download/obtain the STLink software
- Open an Administrator Command Prompt and navigate to the folder where you downloaded the STLink installer
- Run the installer via the Command Prompt:
- e.g.:
stlink_4.0.x_windows_amd64_xxxxxxxxx.exe
- e.g.:
- After the installation completes, you can close the Command Prompt
Linux Installation
WARNING
You will need root access to the Linux machine to install the STLink.
The Linux STLink can be only be installed through Terminal. To install the Linux STLink, do the following:
- Download/obtain the STLink software
- Change the flags on the installer so that it can be interpreted as an executable
- e.g.
chmod +x stlink_4.0.*
- e.g.
- Run the Installer
sudo ./stlink_4.0.*- You may be prompted to enter your password for
sudo
- You may be prompted to enter your password for
- After the installation completes, you can close the Terminal
Note: If you are installing the STLink (version >4.0.2) in a Linux environment without systemctl, you may instead install via:
sudo ./stlink_4.0.* install --nosystemsvc trueand then start the service manually:
sudo /opt/Xiid/h2stlink/h2stlink servemacOS Installation
WARNING
You will need root access to the macOS machine to install the STLink.
To install the macOS STLink, follow these instructions:
- Download/obtain the STLink software (
.pkginstaller) - Double-click on the
.pkginstaller to begin the installation process - Follow the on-screen prompts
The .pkg installers can also be installed via Terminal in a single command (example shown below):
sudo installer -pkg stlink_4.0.x_macos_amd64.pkg -target /Container Installation
The STLink can also be quickly used via its official container image as a Kubernetes sidecar.
The official STLink image can be found on Docker Hub or by simply pulling the xiidcorporation/stlink image.
Additional documentation for containerized deployments is available on Docker Hub.
Verifying the Installation
After the installation of the STLink has finished, you can verify that the installation was successful by doing any of the following:
STLink Portal
Open a browser and navigate to the STLink Portal: https://localhost:10479/st/dashboard. You should see either a page asking for your STLink Activation Code or the STLink Dashboard.
You may need to navigate through an additional browser security screen regarding the self-signed SSL Certificate used by the STLink Portal.
STLink Files
You can check the following locations for the STLink files:
Executable Files:
The folders below will contain the STLink executable binary.
C:\Program Files\Xiid\H2stlink/opt/Xiid/h2stlink//Library/Application\ Support/Xiid/XIID-H2stlink/bin/Configuration Files:
The configuration folders below will contain the STLink portal's UI files, logs, and database, as well as other files and folders.
C:\ProgramData\Xiid\XIID-h2stlink/etc/xdg/Xiid/XIID-H2stlink//Library/Application\ Support/Xiid/XIID-H2stlink/Activating the STLink
If you did not use the Auto-Activation Installer, you will need to activate your STLink manually using the STLink Activation Code. The activation code can be acquired from your System Administrator via the Commander Portal.
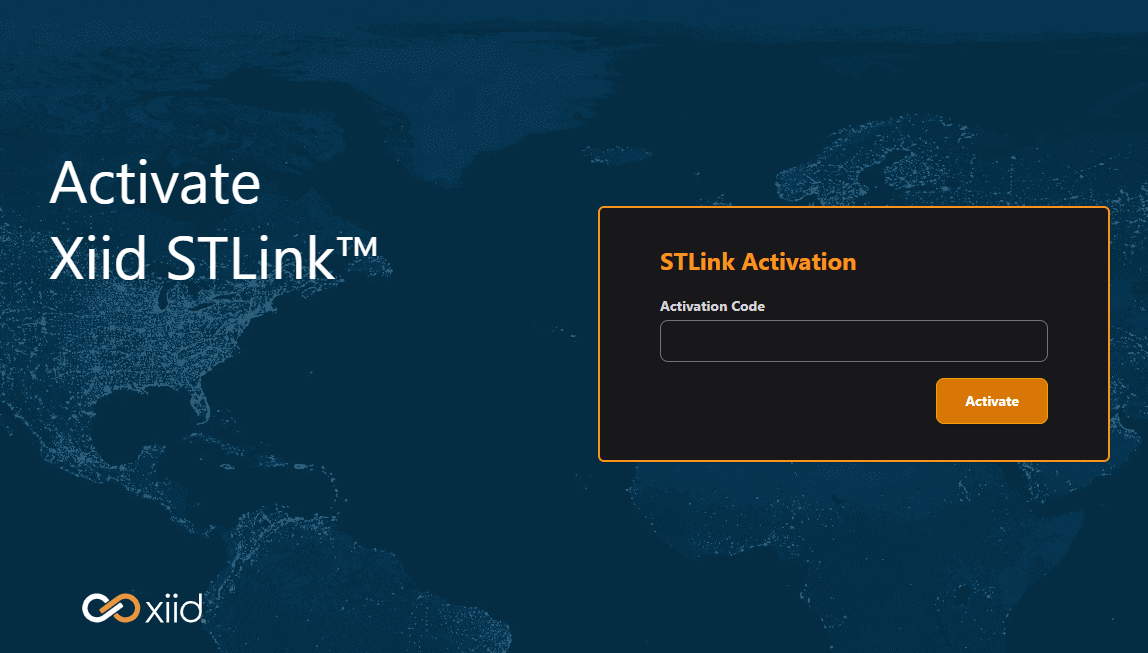
Once the STLink is installed, follow these steps to activate the STLink:
- Open a browser and navigate to the STLink Portal
- You will see a prompt on the right side for an activation code
- Enter the activation code you received from you System Administrator
- Click the orange Submit button in the bottom right of the form
- The STLink will be activated and you will be taken to the Dashboard Page of the STLink Portal.