Managing STLinks
TIP
To identify the hostname of a machine, open an Administrator Command Prompt or a Terminal window. Run the following command:
hostnamehostnamehostnameThe Commander Portal allows you to manage the STLinks that you have deployed in your environment.
Through the Commander Portal, you can add and remove Routes from STLinks and configure when the STLink is removed from the environment.
Earlier, we created a Mapping Route to serve the Commander Portal, but didn't assign it to the Commander's STLink, so it's not actually being served. We also created a Binding Route to your client STLink to access that same Commander Portal on the Commander, but we didn't assign it to the client STLink.
We'll try all of that now!
Assign an Existing Route
You can assign additional Routes to any STLinks that are already deployed in your environment at any time.
Let's add that Mapping Route for the Commander Portal we previously created to the Commander's STLink.
- Sign in to the Commander Portal with your Administrator credentials.
- Navigate to the STLinks tab in the left navigation bar.
- Find the
Commander Machine STLinkSTLink and click on the row in the table. - In the STLink Modal click the Routes tab.
- Click the orange Add Route dropdown button and click Existing Route.
- In the Add Route section of the modal, find the
Commander Portal AccessRoute created in the Routes Setup. - Click the green Add Route button to add the route to the STLink.
You will see the new Route available in the STLink's Routes table.
Verifying Access
WARNING
You may see a warning page displayed by your browser regarding the Commander Portal's self-signed certificate. You may safely ignore this warning and proceed to the page.
To verify access through the SealedTunnel, go to the client machine where the second STLink is installed.
To verify RDP access for Windows, open an RDP connection and type 127.1.1.1:13389 into the Computer field.
Click the Connect button. You should see a Windows popup for credentials to sign into the Commander machine.
To verify SSH access for Linux, open a terminal and type ssh -p 1022 127.1.1.1 and provide the credentials to sign in to the Commander machine.
To verify access to the Commander Portal, open a browser and enter https://127.1.1.1. You should be taken to the login page for the Commander Portal.
After all of your SealedTunnel access to the Commander has been verified, you can close down all of the inbound ports on your Commander machine's network and retain access through the SealedTunnel.
Editing STLink Configurations
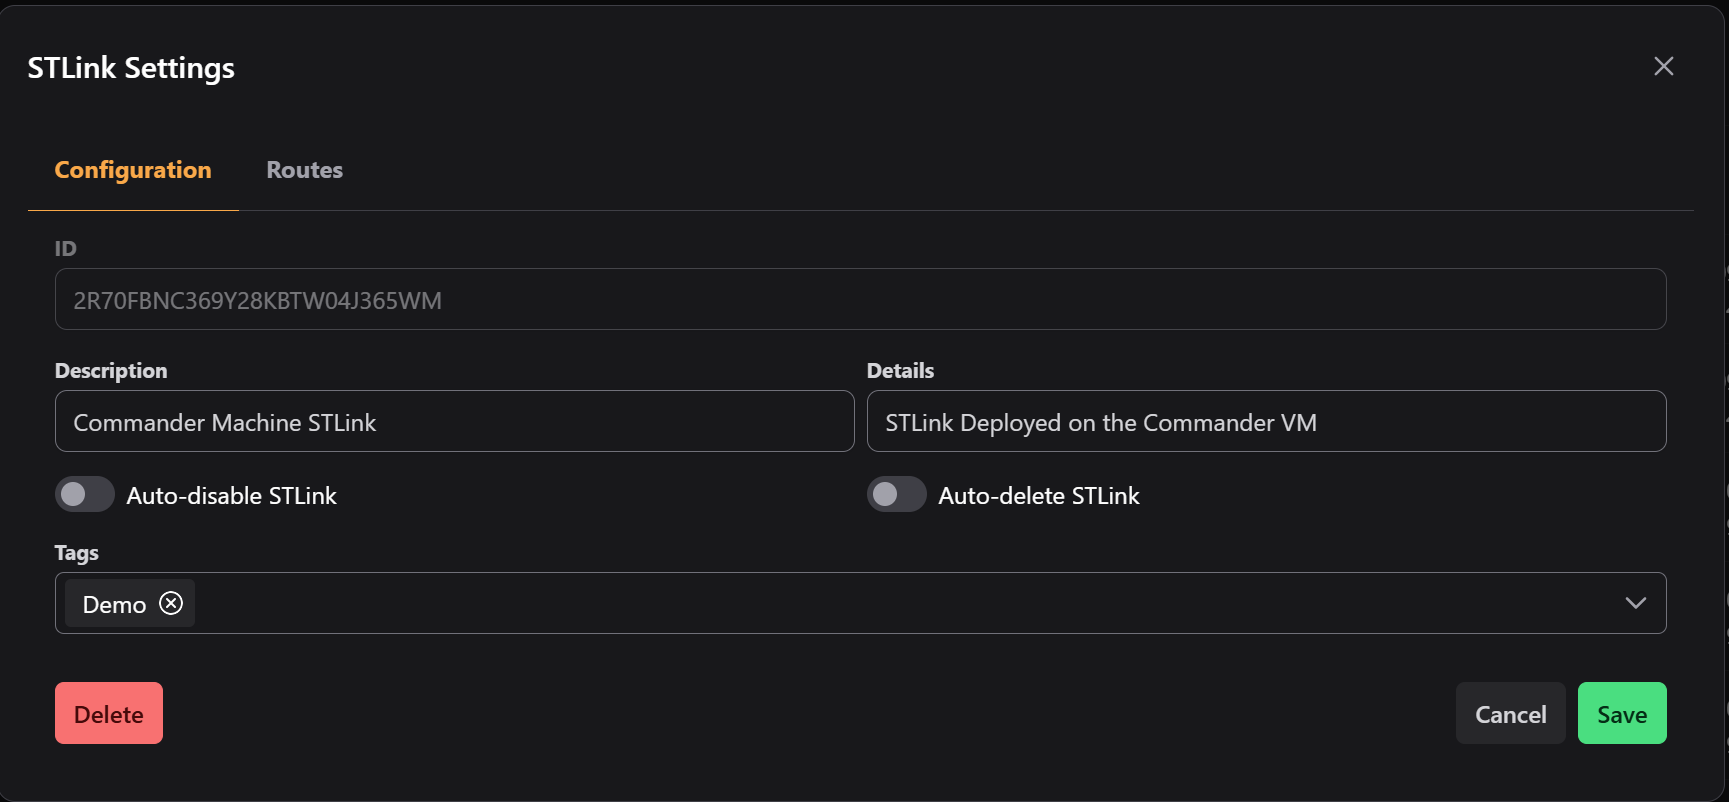
Once an STLink is installed and activated, it will become available in the STLinks table of the STLinks View. By default, the Description and Details fields will be populated with the hostname of the machine where the STLink was deployed.
You can edit many of these properties even after deployment.
Let's try out editing the configurations for the Commander STLink:
- Sign in to the Commander Portal with your Administrator credentials.
- Navigate to the STLinks tab in the left navigation bar.
- Find the STLink for the Commander by its hostname and click on the corresponding row in the table.
- In the STLinks Modal, click the blue Edit button in the bottom right of the modal.
- Change the Description field to
Commander Machine STLink. - Change the Detail field to
STLink Deployed on the Commander VM. - (Optional) You can select the Auto-Disable STLink switch and select a date and time when the STLink will be disabled automatically.
- (Optional) You can select the Auto-Delete STLink switch and select a date and time when the STLink will be deleted from the system automatically.
- (Optional) You can add any tags to associated with the STLink in the Tags dropdown.
- When you've finished your modifications, click the green Save button in the bottom right.


