

Commander Installation and Activation
This section will walk you through installing and activating your first Xiid Commander.
Installing the Commander
TIP
If you don't have the Commander installer or Activation Code, contact your Xiid representative.
First, let's install the Commander on the machine you set up during the prerequisites.
The installation process is fairly straightforward but requires the use of a Command Prompt (Windows) or Terminal (Linux).
Follow these steps to install the Commander:
- Download or transfer the Commander installer to the Commander machine
- Open an Administrator Command Prompt (Windows) or Terminal (Linux)
- Navigate to the directory that contains the Commander installer
- Run the installer:
commander_4.x.x_windows_*.exechmod +x commander_4.x.x_linux_* && sudo ./commander_4.x.x_linux_*After the installation completes, the Commander Portal will be available at https://localhost:10466/cm/xiid-login.
Note: If you are installing the Commander (version >4.0.2) in a Linux environment without systemctl, you may instead install via:
chmod +x commander_4.x.x_linux_* && sudo ./commander_4.x.x_linux_* install --nosystemsvc trueand then start the service manually:
sudo /opt/Xiid/h2commander/h2commander serveActivating the Commander
If you did not use the Auto-Activation Installer, you will need to provide the Commander Activation Code manually.
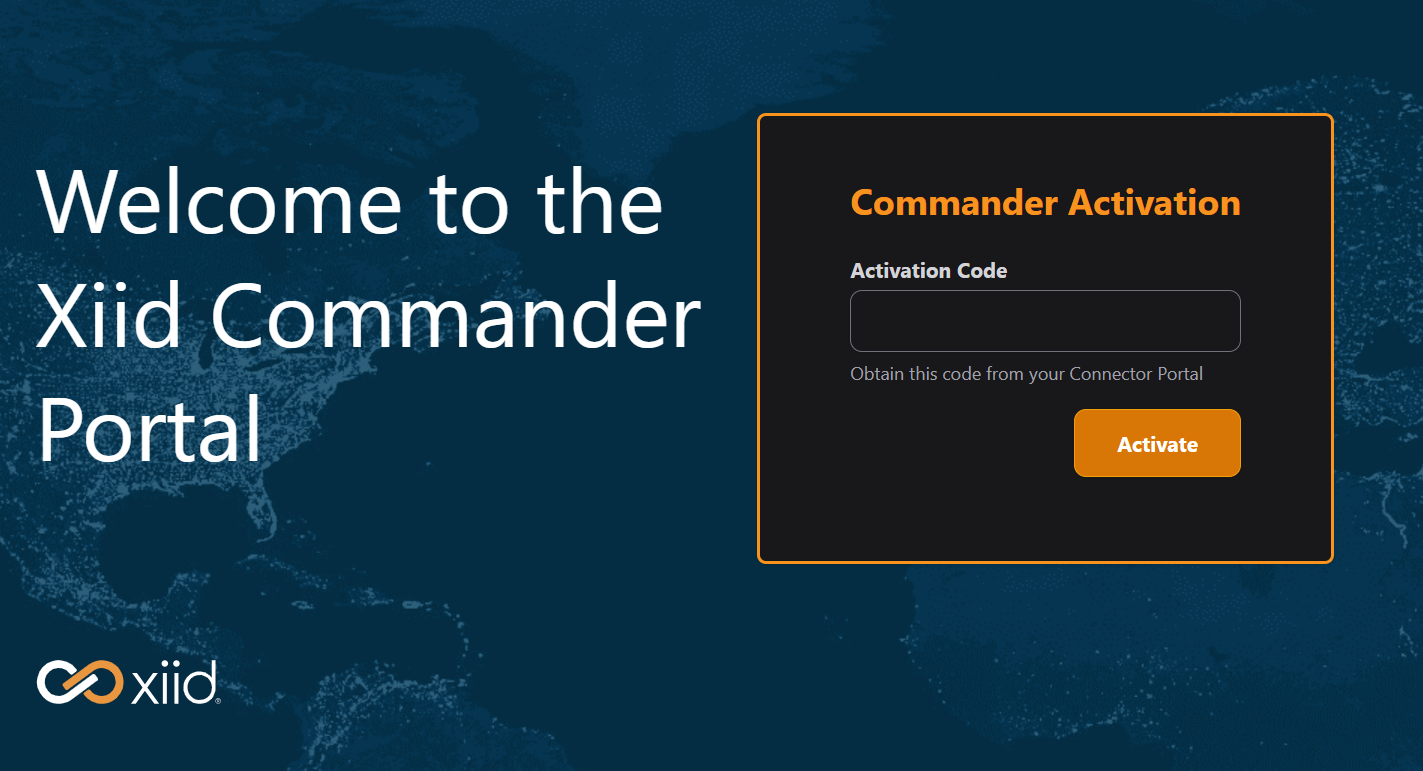
When you first access the Commander Portal, you will be asked to activate the product.
Enter the Commander Activation Code you were provided into the field and click the orange Activate button.
After successful activation, you will be taken to the setup screen to set the initial credentials you will use to sign in to your Commander Portal.
Setting the Initial Credentials
WARNING
When setting this initial set of credentials, MFA is not automatically enabled. You must sign in and require MFA for the user manually.
There are two ways to set the initial credentials that can be used to sign in to the Commander Portal: through the Commander Portal or through the command-line interface (CLI).
We highly recommend using the Commander Portal as it is easier and more straightforward.
Commander Portal Setup
- After activating your commander, or by navigating to the Commander Portal in a browser, you will be taken to a Setup page that will ask you to set the credentials for your initial user.
- Note: The initial username is always "sa"
- Provide a password that meets the password complexity requirements
- Click the orange Submit button

Now you can sign in to the Commander Portal with these credentials!
Reverse SSH Access
If you are installing your commander on a headless Linux server, you can use a reverse SSH connection to tunnel the Commander Portal to your machine in order to do the initial configuration.
We highly encourage you to use this reverse SSH tunnel to create your first STLink, deploy it on the headless server running the Commander, and set up a binding directly to the Commander Portal on your client machine.
Afterward, you can close down the inbound access to the Commander's headless server and solely leverage the SealedTunnel for access moving forward. This process is described throughout the rest of the Getting Started section under the Commander and STLink sections.
To reach the Commander portal through a reverse SSH tunnel, run the following command on your client machine, replacing remote_address with the remote address of the server, username with your SSH username for the Linux operating system, and server.com with the domain name record or IP Address of the Linux server.
ssh -L 8443:localhost:10466 username@server.comPublic Access
The Commander can be configured for access through a direct connection over the public internet. This access method is highly discouraged but may be necessary to set up the STLink for the Commander's server and your client machine. After those two machines are set up with the STLink and SealedTunnel access, public access to the Commander should immediately be removed. This method may also be preferable if the Commander machine is behind NAT gateways.
To set up public access for the Commander, add an inbound TCP/IP firewall rule for the commander port, which by default is 10466.
CLI Setup
Follow these steps to set up the initial credentials through the CLI:
- Open an Administrator Command Prompt (Windows) or Terminal (Linux)
- Navigate to the Commander executable folder
cd "C:\Program Files\Xiid\H2Commander\"cd /opt/Xiid/H2Commander/- Stop the Xiid Commander Service
sc stop xiid-h2commandersudo systemctl stop xiid-h2commander.service- Run the following command to set the initial credentials, replacing
ThisIsAnInitialPasswordwith your own secure password:
h2commander.exe initsa --password "ThisIsAnInitialPassword" --otp falsesudo ./h2commander initsa --password "ThisIsAnInitialPassword" --otp false- Start the Xiid Commander Service
sc start xiid-h2commandersudo systemctl start xiid-h2commander.serviceNow you can sign in to the Commander Portal with your credentials!