Office 365 Setup
If your company is using Office 365, you can configure the Xiid SSO Portal to integrate with Office 365, providing secure access to emails and applications from anywhere, anytime.
Please consult the Office 365 Edition FAQ to ensure that you have an edition of Microsoft 365 that supports SSO Portal integration.
Xiid.IM Active Directory Agent Configuration
To start out, you will need to configure the Active Directory Agent with your Office 365 information.
Sign in to the Agent Management Portal and navigate to the Applications tab.
Click the purple Choose button in the Office 365 card on the Applications page.
On the Applications List for Office365 page, click the purple Add Application button in the top right corner.
On the Information section, select the SSO Portal you would like to add Office 365 integration to, then enter a Description for the Office 365 Application that helps you associate the Office 365 applications to the portal and users that will use it.
Click the Next button to advance to the Parameters section.
In the Username field, enter just the username (not the UPN, no @domain_name) for your administrative account for office.com.
Below the Username, enter the Password associated with your Microsoft 365 administrative account.
Last, enter the name of the Domain associated with your Microsoft 365 account and click the Next button.
The last 4 sections of the Office Application setup will require access to your Office 365 Administrator Account.
Office 365 Admin Configuration
Start by signing in to your Administrative Account on office.com.
Once signed in, click the Applications button (the 9 dots, 3 per row, on the left side of the page) and click the Admin app.
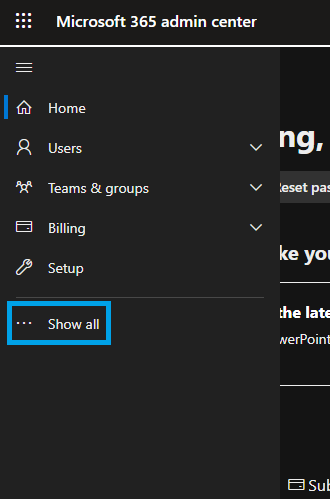
Once you are in the Microsoft 365 Admin Center, Open the navigation bar on the left side and click Show All. (Shown below in blue)
On the navigation bar, find the Admin Centers section and click Azure Active Directory.
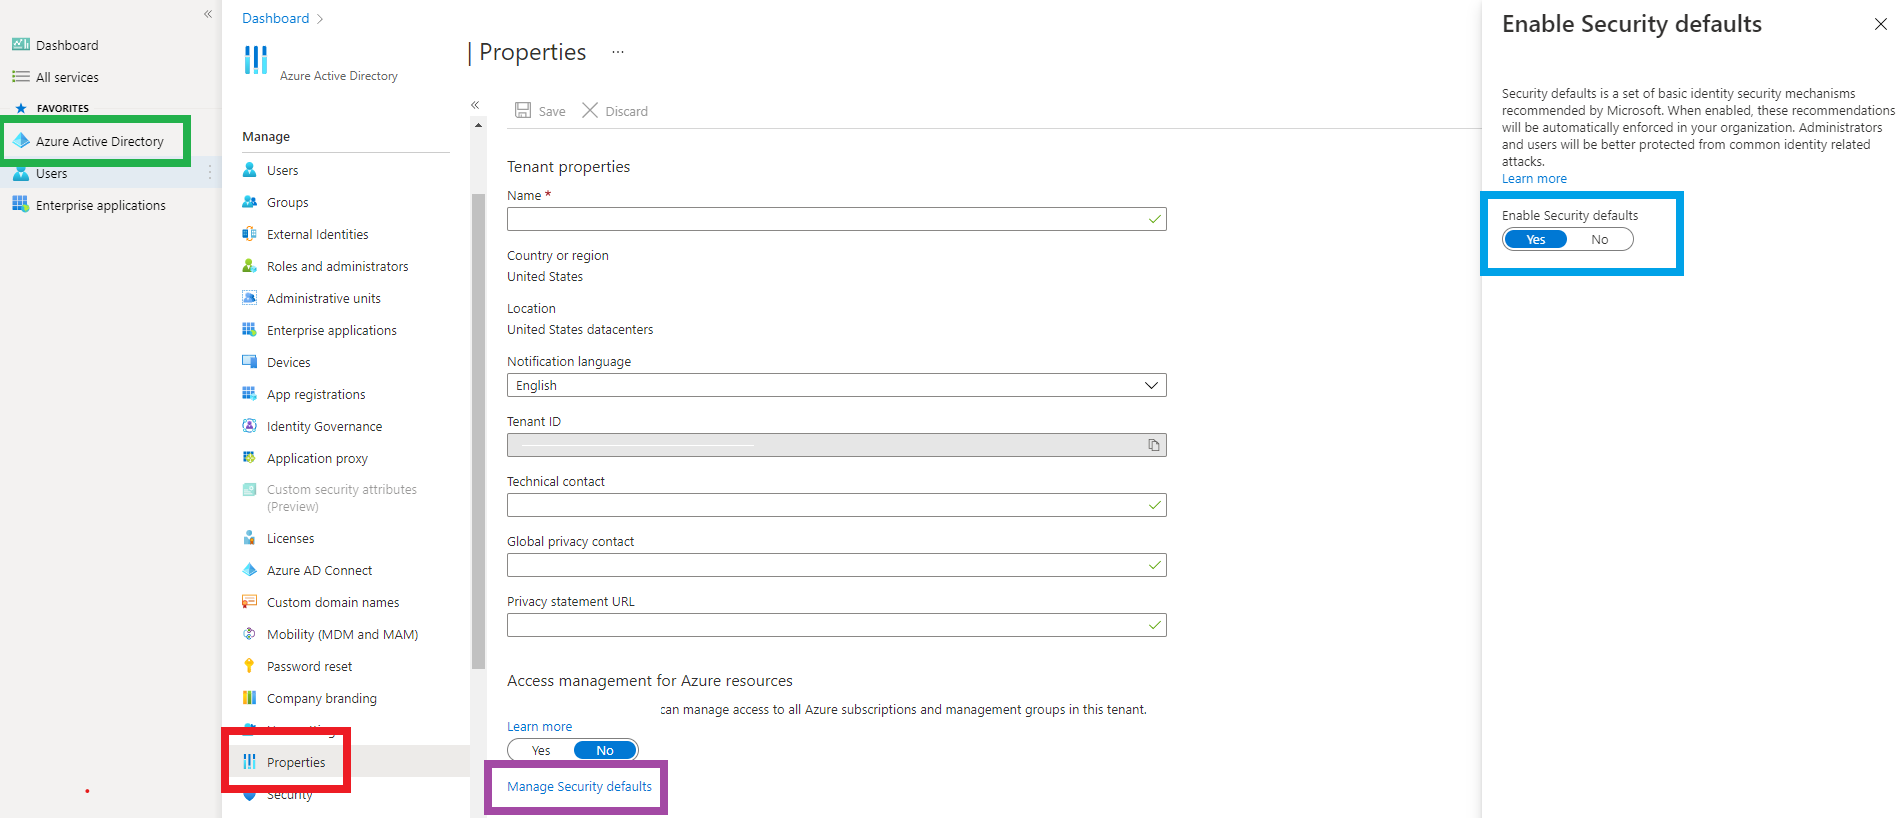
In the Azure Active Directory Admin Center, click Azure Active Directory on the left side. (shown below in green)
In the second navigation bar from the left, select Properties. (Shown below in red)
Locate the blue Manage Security defaults text at the bottom of the properties window. (shown below in purple)
Click that text and a window will expand on the right side of the screen. Click the No button under Enable Security defaults. (shown below in blue)
Back in the Agent Management Portal, remember to click the purple Save button after disabling Microsoft Security Defaults.
The Xiid Application will take a few moments to save the configurations and finish integrating your Microsoft 365 Account with Xiid’s system.
Last, you will be moved back to the Application List for Office365 and you will see a new row for your Office 365 Application.