Integrate Applications
Now that we have the Xiid Agent securely running on our domain controller, we’re ready to start integrating third-party applications into our secure Xiid environment.
Authenticator Setup
The first step is to set up an Authenticator to integrate with your LDAP service to handle credentials and authentications securely.
In the Xiid Agent Management Portal, navigate to the Authenticators tab.
Click the blue Add New Authenticator button in the top left.
Provide a friendly name for the Authenticator. We recommend a name that will help you associate the authenticator to your LDAP Service and Active Directory Authentication Agent.
Ensure that you have selected the Agent Friendly Name defined in the last section. Select LDAP in the Authenticator Type dropdown. This will populate more fields down below.
For the LDAP Server, enter the IP address of the server running Active Directory. Leave the default LDAP Port unless you have changed that on your LDAP Server.
Last, enter the username and password of an existing Active Directory user that can be used to query your LDAP server. The user you provide only needs access to query the LDAP server. We recommend that you do not associate other permissions with this user to keep the service user as secure as possible. After entering this information click the blue Create button at the bottom.
After clicking the Create button, the Xiid Agent Management Portal may take a few moments to verify all of the Authenticator information. You should see a green notification pop up that the Authenticator was created successfully.
You can test your authenticator to ensure that it is working properly by navigating to the Authenticators tab, locating your Authenticator in the table, and clicking the blue checkmark button next to the Authenticator information. (Shown below in the red box)

Translator Setup
We’ve now defined how to communicate with our LDAP service, however there may be a problem with our external applications. Some of them may ask for an email address to sign in as opposed to your domain credentials.
We can solve this problem seamlessly using Xiid Translators. Sign in to the Xiid Agent Management Portal and navigate to the Translators tab.
We’ll start first by creating an External to Internal Translator group. This group of translators will be integrated into Xiid to translate various forms of external usernames into the username that LDAP will expect.
On the Translators page, click the dropdown at the top under Groups and select Add New Translator Group. Provide a friendly name for the Translator Group that helps you associate the types of external usernames you would expect and how they are translated internally to the LDAP service.
For the Scope, we will choose External.
Click the purple Create button to finish creating the Translator Group.
Now that we have our External Translators Group, we can define a way to translate our external usernames to our internal LDAP server usernames.
For purposes of this example, our domain tied to our activate directory users will be called testdomain.local.
Ensure that you have your new Translator Group selected in the Groups dropdown, and then click the blue Add New Translator button at the top left of the screen.
In the next screen, we will select Domain for the Type.
The standard External to Internal translator that we will set up will simply take in our domain: testdomain.local and convert it to our LDAP directory domain, which is also testdomain.local.
Enter your LDAP domain in the Token Internal field and enter your LDAP domain in the Token External field.
Click the purple Create button to finish your External to Internal Translator.
If you expect an email address to come in as a username, you can add an additional translator in this group and set the Token Internal field to your domain (i.e. testdomain.local) and for the Token External field, enter your email domain (i.e. example.com). This would convert the username example@example.com to example@testdomain.local for consumption by your LDAP service.
Next, we need to set up the Internal to External Translator, which will define how to convert from your LDAP domain usernames back to your external usernames.
First, we will create another Translator Group by expanding the Groups dropdown and selecting Add New Translator Group. In the Translator Group Screen give the group a friendly name that helps you associate the internal LDAP domains to your external domains.
Select Internal for the Scope.
Click the purple Create button to finish creating the Translator Group.
With our new Internal Translator Group selected, click the blue Add New Translator button in the top left.
In the Translator creation screen, select Domain for the Type.
Enter your LDAP domain for the Token Internal and Token External fields.
Click the purple Create button to finish creating your Internal to External Translator.
Additionally, if you followed the optional step above to translate email addresses, create a second Internal to External Translator and enter your LDAP domain for the Token Internal field and your email address domain for the Token External field.
Now you have your translators configured to convert to and from other domains and usernames to your LDAP usernames and back!
Application Setup
Now that Xiid is fully integrated with LDAP, we can create an Xiid Application. The Xiid Application will act as an umbrella for all third-party applications that we want to integrate with Xiid’s Single Sign-On Portal.
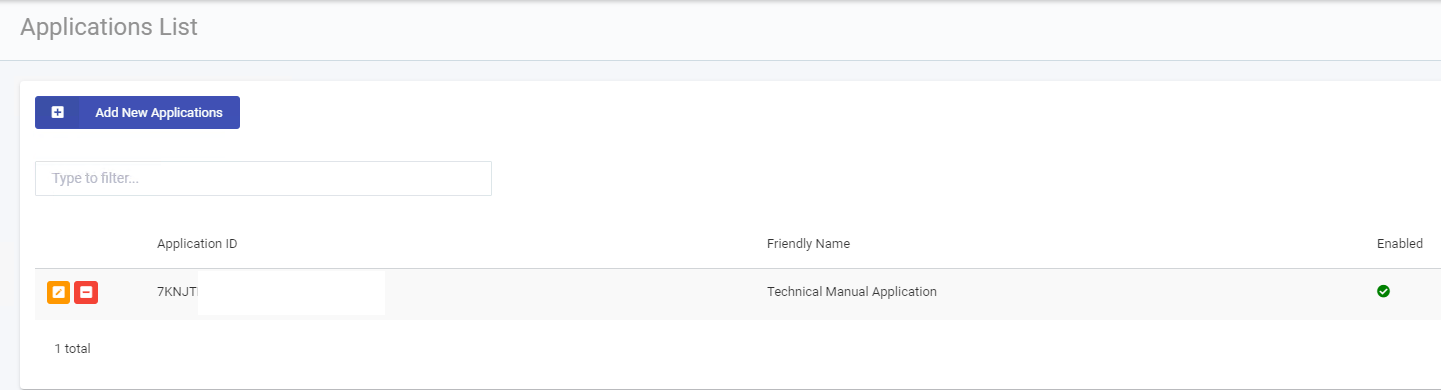
Sign in to the Xiid Agent Management Portal and navigate to the Applications tab.
Click the blue Add New Applications button in the top left to get started.
Provide a friendly name that helps associate the group of applications that will operate under this umbrella Xiid Application.
Provide a Display Name that will be used in Xiid’s systems to identify the Xiid Application. This Display Name will also be shown in the Single Sign-On Portal for users.
You can choose between different tokenization algorithms to use for your applications. The JWT token is used by Xiid to anonymize credentials.
Click the Generate button on the right side of the JWT Secret to create a new secret used in generating the tokens.
You may adjust the duration of time in which the tokens generated for sign in are valid. We recommend a default of 60 seconds.
Click the Next button and select the Authenticator created in the Authenticator Setup section.
Hit the Next button through the 2FA screen. (We will skip 2FA for now)
On the Translators External to Internal screen, select the External to Internal (E2I) Group created in the above section.
For the Translators Internal to External screen, select the Internal to External (I2E) Group created above.
Last, you may select a firewall to enhance network security between your collector and Xiid Agent service. These firewalls will allow users to whitelist, blacklist and safelist IP addresses coming into the collector that are known to be safe. i.e. if you are running a private subnet on your domain. Xiid also provides a default firewall for use. A firewall is not required to create an Xiid Application.
Click the green Create Application button to finish.